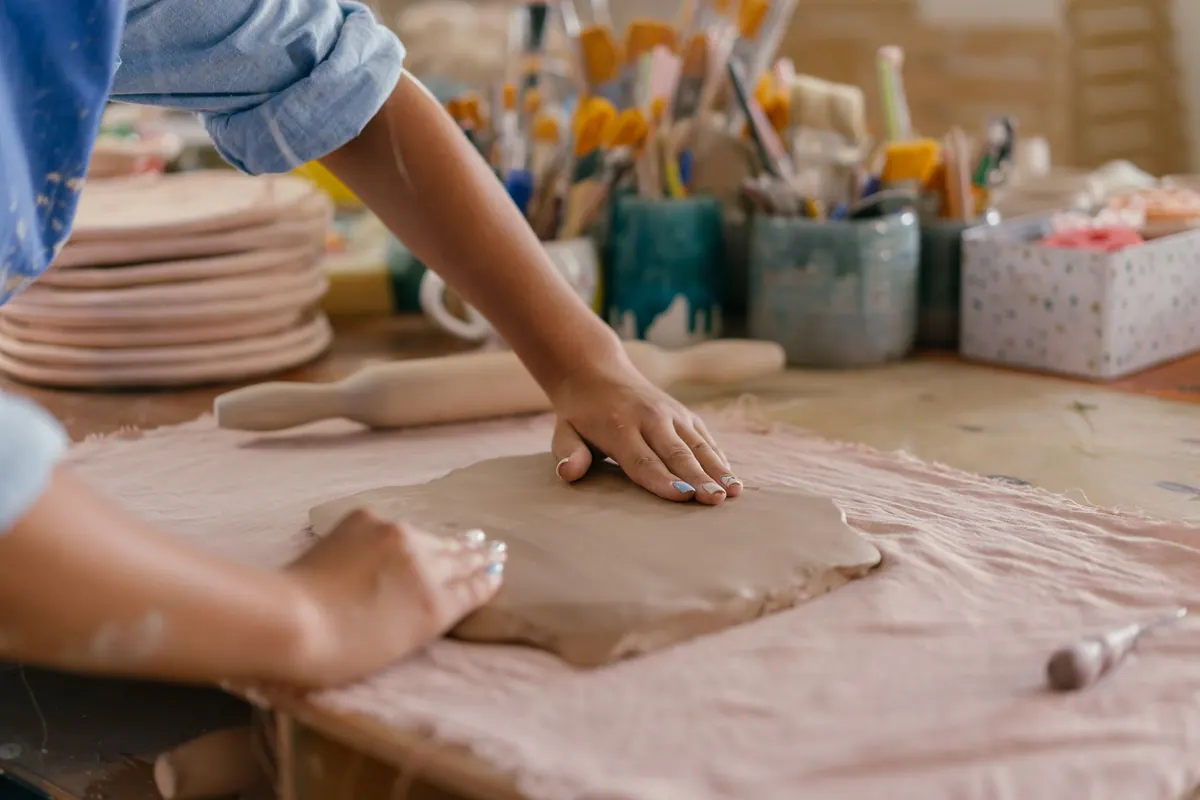
Every potter eventually looks down and wonders. That red bank behind the barn, the grey-blue seam cut open by a new road, the mud that swallows boots after a hard rain — it is all geologic material, and some of it will fire into a pot. Sourcing wild clay is less about luck than about reading the landscape, testing small samples, and staying patient through a few failures. What follows is practical: how to find clay where you live, how to judge whether it is worth digging, and how to turn a bucket of mud into a workable body.
Reading the Ground: Where Wild Clay Hides
Clay is rarely sitting on the surface waiting for you. It appears in specific situations, and once you start noticing them, you will see them everywhere. The best places to look are where the ground has been opened up for you.
- Streambanks and creek cuts, where moving water has carved a clean vertical face and exposed the layers beneath the topsoil.
- Road cuts, foundation excavations, and drainage trenches. Any fresh dig is a free cross-section of local geology.
- Low, damp ground where water stands after rain and drains away slowly.
- Soil that clumps like putty on your boots and stains your hands a color that rinses off with difficulty.
- Dried puddles with fine polygonal cracks — a reliable clue that a spot is clay-heavy.
Ignore the topsoil. What you want is a subsoil layer, usually a band of different color and texture sitting between the dark organic layer above and the sandy or rocky material below. Old place names can point you in the right direction, too: lanes and fields called Claypit, Brick Kiln, or Tilehouse usually earned the name for a reason.
Permission, Safety, and the Sample-Jar Rule
Wild clay sits on somebody's land, and that matters. Ask the landowner first. Parks, nature reserves, and protected sites usually prohibit digging outright, so check before you load a spade into the car. Road cuts can be unstable, and any pit dug into the toe of a slope invites collapse — never work beneath an overhang.
Keep your holes small, a few shovelfuls at most, and fill them back in when you leave. Start with a jam jar's worth. If the material is poor, you have left no scar and wasted an afternoon rather than a weekend. Rules about removing soil vary widely by region, so if you are unsure whether a site is fair game, ask the local land management authority before you dig rather than after.
Region by Region: What Your Local Geology Offers
River valleys and floodplains
This is the most dependable hunting ground for most people. Moving water sorts material as it travels: gravel and coarse sand drop out early, while fine clay stays suspended and settles only where the current slows — oxbows, backwaters, and old flood deposits. Dig below the silty top layer and look for grey, blue-grey, olive, or reddish bands that feel slick between your fingers.
Deserts and dry basins
Look at playa lake beds, dry washes, and arroyo banks. These clays are often rich in soluble salts and carbonates, which can cause problems in the kiln, so expect to soak and decant the material several times before it behaves. Swelling bentonite-type clays are common in some arid regions: enormously plastic, but they shrink hard and crack, and usually need heavy tempering with sand or grog.
Volcanic and mountain terrain
Weathered ash, tuff, and hydrothermally altered rock can all yield clay. These materials tend to be iron-rich and fire to warm red-browns at mid and high temperatures. They also vary wildly over short distances and are often gritty, so take several samples from one hillside rather than assuming one bucket represents the whole slope.
Coasts, glaciated ground, and backyards
Glacial till is a mixed bag — boulder clay studded with lenses of genuine clay, best sampled at till faces and drumlin cuts. Estuarine muds work but carry salt, so wash them well. And do not overlook your own property: old farm ponds, drainage ditches, and the pile of subsoil left by a foundation dig are all fair game.
Field Tests: Judging Clay on the Spot
You can learn a lot about a sample before you commit to hauling it home. Three tests will tell you most of what you need.
- The ribbon test. Squeeze a moist ball of clay between thumb and forefinger, pressing it outward. If it forms a long, flexible ribbon that holds together, the material is plastic and high in clay. If it crumbles immediately, it is sandy or silty.
- The coil test. Roll a coil about the thickness of a pencil and wrap it around your finger. Severe cracking means low plasticity or too much sand. Smooth bending is a good sign.
- The jar test. Half-fill a jar with the sample, top it up with water, shake hard, and set it down. Sand settles within a minute, silt within a few hours, and clay stays cloudy for a day or more. The proportions tell you how much tempering the clay will need.
Smell matters too. A strong sulfur or rotten odor signals organic matter or sulfides. Long soaking and weathering help, but test such material in small pieces before committing to it.
Processing: From Mud to Workable Body
Raw clay straight from the ground is usually full of roots, stones, and coarse grit. Cleaning it up is slow work, but it is simple.
- Slake. Break dry lumps into a bucket, cover with water, and leave for a day or more, stirring occasionally.
- Remove debris. Skim off floating leaves and roots, then pass the slurry through a sieve — window screen works for a first pass, finer mesh for smoother bodies.
- Settle and pour. Let the slip stand, pour off the clear water, and scoop the creamy residue onto a plaster bat, cloth, or a bed of dry newspaper to stiffen.
- Dry to plastic. Turn the mass as it stiffens until it no longer sticks to your hands.
- Wedge and rest. Wedge thoroughly, wrap tightly, and leave it for days or weeks. Aging genuinely improves workability.
- Temper if needed. Add fine sand, grog, or a known plastic clay. Plenty of wild clays are too short, too sticky, or shrink too much on their own.
Firing Tests and Blending
Roll test bars and tiles from the same batch and mark them. Dry slowly and evenly — wild clays crack readily when dried fast, especially in thick pieces. Bisque with good ventilation, since unknown material can release fumes as organic matter and sulfides burn off.
Fire tests at more than one temperature if your setup allows. Note color, shrinkage, porosity, warping, and any bloating. A clay that fails badly at high temperature may be perfectly serviceable at low-fire ranges, and a shrinkage bar measured wet, dry, and fired will tell you how much the body moves.
Do not be a purist about it. Mixing a fussy wild clay with a bag of commercial stoneware is a common and sensible way to get something that throws well. And wear a mask when sieving or mixing dry material — fine silica dust is not something to breathe, whatever its origin.
Start Small, Keep Notes
Keep a log for every sample: where you dug, the date, the depth, the layer, the color, how it felt, how the jar test turned out, and how it fired. Photograph the site so you can find it again. Most wild clay is mediocre, a little of it is good, and the occasional bucket turns out to be worth a full season of digging. The reward is not just free material. It is a pot that could only have come from where you live.
Photo: Mikhail Nilov / Pexels